x

EMBARCADERO RADSTUDIO


GETTING STARTED


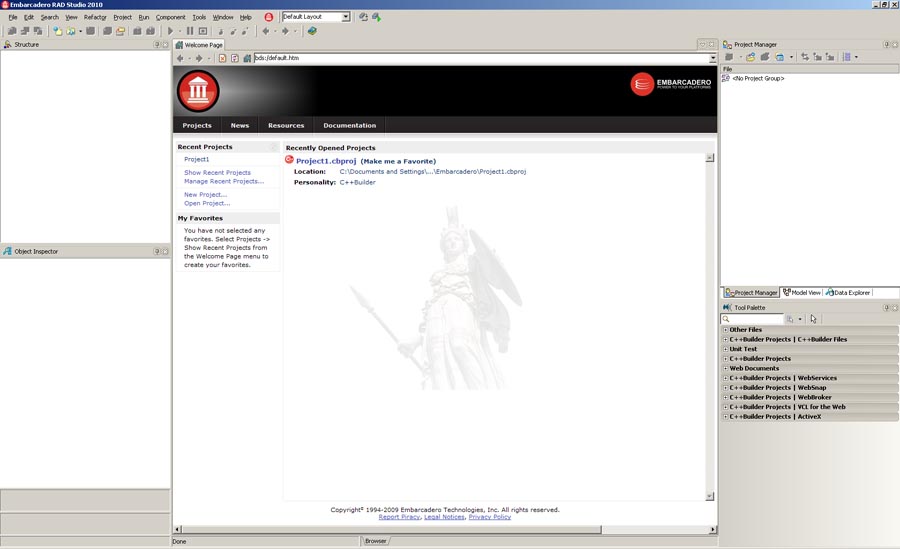
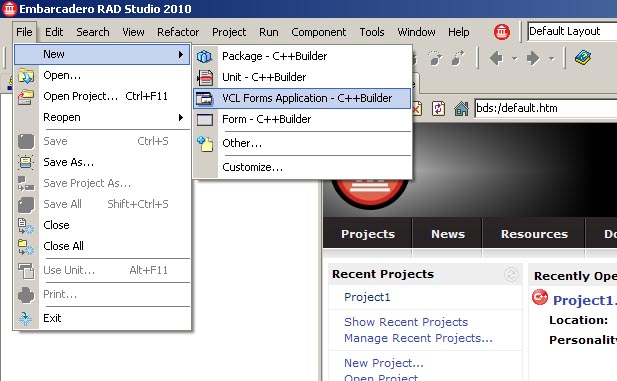
This is the Embarcader RadStudio Opening Screen:

Create a New VCL Forms Application:


You should now see this:


THESE SETTINGS SHOULD NEED TO BE SELECTED ONLY ONCE
If so, the settings should "stick" but don't count on it. If you are unsure, you may wish to reset them.
If your want your executable to run on any PC, whether or not Embarcadero's RadStudio isinstalled, you need to UNCHECK or FALSIFY all three selections.

Select PROJECT / OPTIONS and check to see if "Runtime Packages" are UNCHECKED in each of the three selections:

1) Under "Application" UNCHECK "Enable runtime themes:"

2) Under "Packages" UNCHECK "Build with runtime packages:"

3) Under "C++ Linker" set "Dynamic RTL" to FALSE:

Check "Default." With luck your choices will "stick:"


THIS RARELY NEEDS TO BE CORRECTED:

Look in the top right corner to confirm that all the components of your project have the same number, preferably "1".
If the PROJECT, UNIT and FORM numbers are not the same, rename them now.
You will have to change the FORM number in the OBJECT INSPECTOR.
xxxxx


Before doing anything else, select FILE / SAVE PROJECT AS.
!!! If you do not do this, Embarcadero will likely loose track of your files. !!!

Create a NEW FOLDER with a distinctive name on the DESKTOP:
!!! Do NOT save to your USB or AFS drives !!!

Open that new folder. Accept the default file names and click SAVE.
Click SAVE twice, once for the "Project1.cbproj" file and again for the "Unit1.cpp" file.)


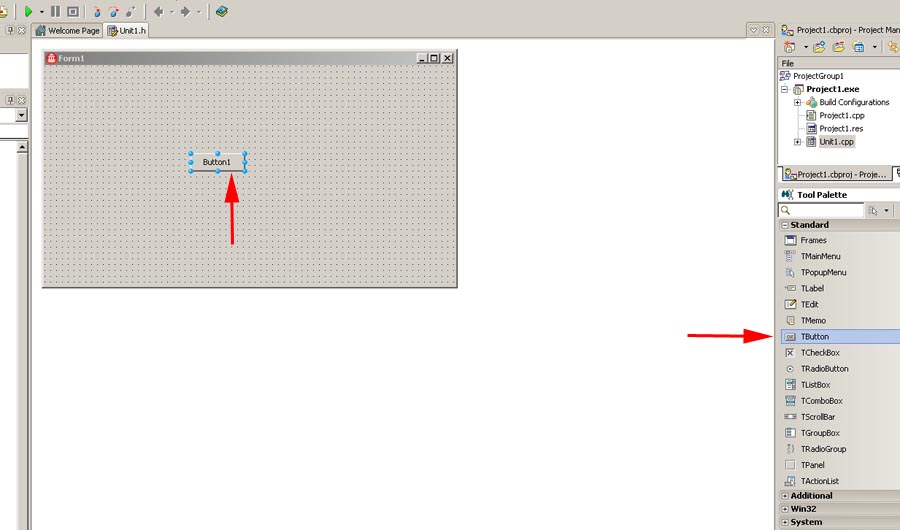
Most of the time, you will only need the OBJECT INSPECTOR (left) and the TOOL PALETTE (right).
Stretch them to near maximum height.
Alternatively, you may simply CLOSE the upper-left and upper-right sub-windows.

The DESIGN tab provides you with a WYSIWYG editor for the FORM.
The FORM is synonymous with your application's WINDOW or the Graphic User Interface (GUI) .

The UNIT1.CPP tab displays your SOURCE CODE.
This is where you will write the logic of how your world works.
RadStudio has written a minimal Windows application for you to get you started.


!!! KEEP EVERYTHING NEAT AND TIDY !!!

Before you begin, let's do some housekeeping.
Any statement preceded by "//" is called a COMMENT or REMARK and will be displayed in GREEN.
COMMENTS are there to organize your code and to remind you what you've done.
Comments are ignored by the compiler.

It is essential that you observe proper formatting conventions.
Your code should be indented properly to show the scope of statements.
You should comment your code profusely.
(Don't expect anyone to help debug your code if it is not neatly written.)

Insert the following comments as a first step in organizing your code:
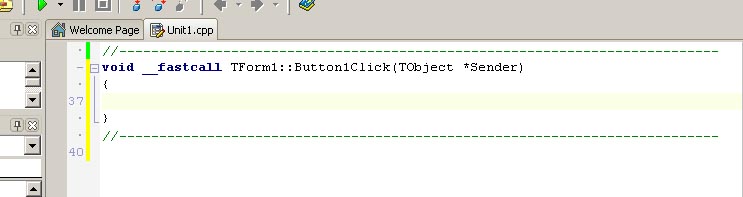
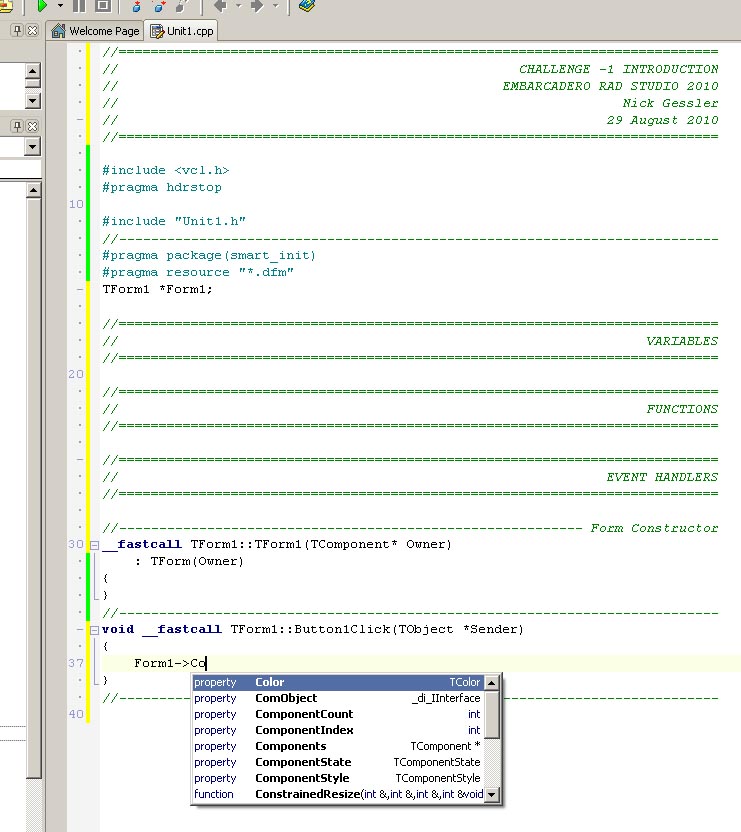
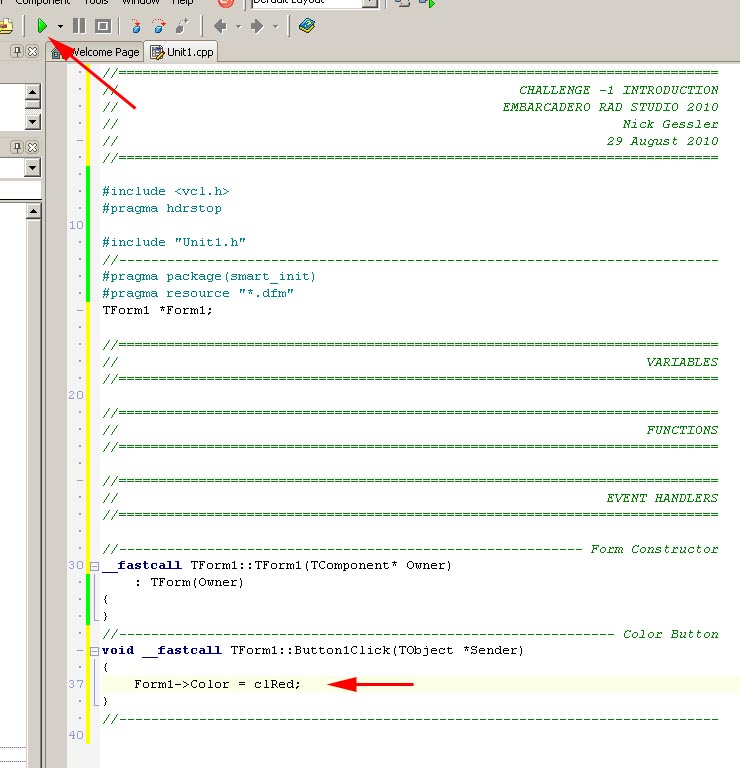
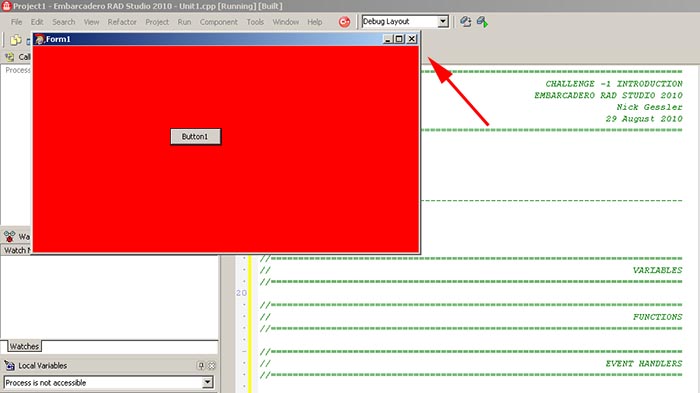

Let's write a simple application:
Go back to the DESIGN tab.
Open the STANDARD TOOL PALETTE and select the TBUTTON visual component.
Click on the FORM to place it there:

Double-click that BUTTON and RadStudio will automatically write the outer shell of an EVENT HANDLER for you.
When Button1 is CLICKED, the computer will go here to find out what to do:

Scroll up and you will see that the EVENT HANDLER has been added at the bottom of your SOURCE CODE.
Let's say we want Form1 to turn RED when Button1 is clicked.
As you type in the instruction, note that RadStudio will try to anticipate your intent.
This can be handy, but be careful; RadStudio cannot read your mind:

Note: You must fill in the body of an EVENT HANDLER or it will vanish after pressing the GREEN RUN ARROW.

NEVER write the outer shell of an EVENT HANDLER yourself. Let RadStudio create it.

NEVER delete the outer shell of an EVENT HANDLER yourself. Empty its contents. RadStudio will delete it.

Finish typing in the statement. Then press the GREEN RUN ARROW:

RadStudio will LINK, COMPILE and RUN (EXECUTE) your code.
Note that when your APPLICATION is executed, FORM1 has no guide dots on it:

Close the EXECUTABLE.
This will return you to RadStudio.
Test it. Press the BUTTON. The window, FORM1, should turn red.
Only when the APPLICATION is in RadStudio,
in the WYSIWYG FORM editor, under the DESIGN tab, will you see the guide dots:

Every time your application compiles and runs without error, select FILE / SAVE ALL.
If you DO NOT do this and you mess up (which you will), you will have no backup.
!!! NEVER select FILE / SAVE PROJECT AS again. !!!
!!! NEVER NEVER EVER select FILE / SAVE PROJECT AS and direct it to another location. !!!

Select FILE / CLOSE ALL to end your work with RadStudio
Then close RadStudio itself.

!!! COPY your project FOLDER from the DESKTOP to your USB stick.. !!!
!!! COPY IT TO SEVERAL BACK-UP LOCATIONS. !!!
!!! FROM TIME TO TIME, EVERYTHING ON YOUR DESKTOP WILL VANISH WHEN YOU LOG OUT. !!!


CONTINUING YOUR WORK

TO CONTINUE WORKING ON YOUR APPLICATION.
Copy the folder from your USB stick (or other device) to your DESKTOP.
Open the folder on the DESKTOP (not the one on your USB stick).
Double-click on "Project1.cbproj" and you will be able to continue working on your application in RadStudio:
x

Your EXECUTABLE will be in the "Debug" folder.
EXECUTABLE will run alone (without any of the other files) on any PC computer.
Feel free to rename it, but make sure to keep the ".exe" extension.
You might rename it, "my-first-real-windows-application.exe":
x


OBJECTS, PROPERTIES and EVENTS

Note that HANDLES will appear on the FORM when you select it.
The FORM will also appear in the OBJECT INSPECTOR.

The PROPERTIES of the FORM will appear under the PROPERTIES tab:

The EVENTS that the FORM will respond to will appear under the EVENTS tab:

Note that HANDLES will appear on the BUTTON when you select it.
The BUTTON will also appear in the OBJECT INSPECTOR.
The PROPERTIES of the BUTTON will appear under the PROPERTIES tab:

The EVENTS that the BUTTON will respond to will appear under the EVENTS tab:


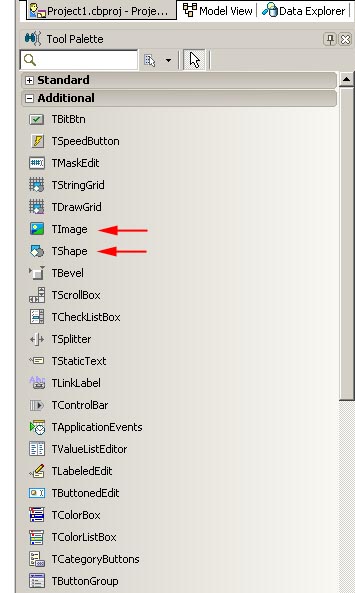
THE TOOL PALETTE

The TOOL PALETTE contains hundreds of Drag-And-Drop VISUAL COMPONENTS.
We commonly use only a few:

xxxxxx

xxx


xx

HELP

For HELP with C++, Windows and the Visual Component Library, select HELP:

The HELP window:

You will probably want to select the INDEX tab to look for a specific item.
Using HELP is often cryptic.
You must to have some idea what you're looking for to have any hope of finding it,
and then you might not find the answer very helpful: